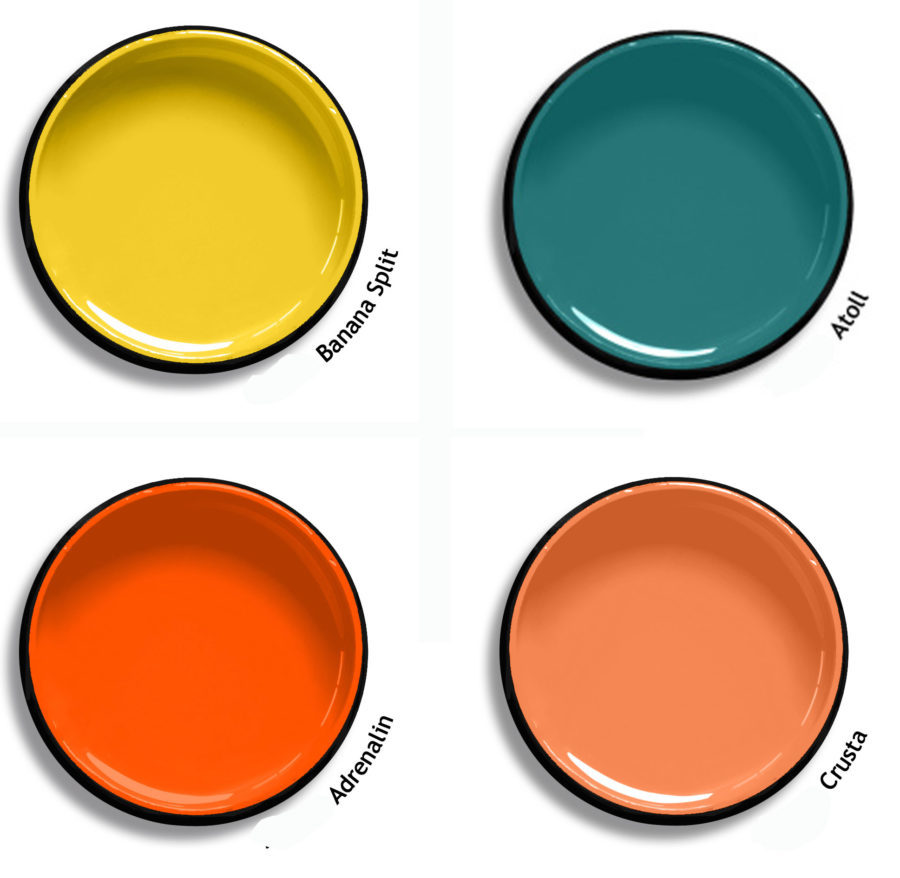
It is time to announce the winning colour, the one of four which received the most votes, and I am pleased to say there were over 500 votes counted! The competition was close, initially I thought we were going to be having Banana Split bobbins this year, and then it was looking like we would have an orange year with Energised….
As the votes continued though we saw a new trend emerging, a more subtle colour, peaceful, relaxing…. I am happy to announce that the 2019 Majacraft Bobbin Colour of the Year is…… (drumroll)
ATOLL!
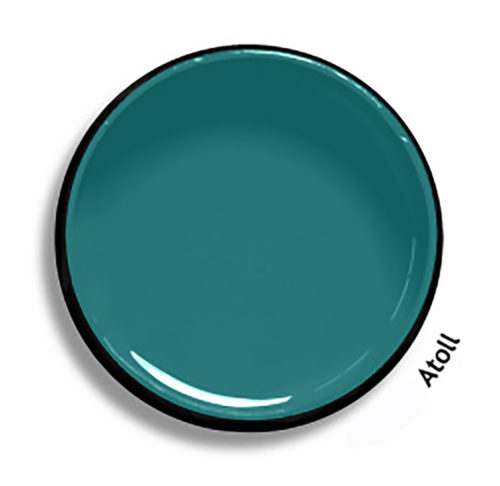
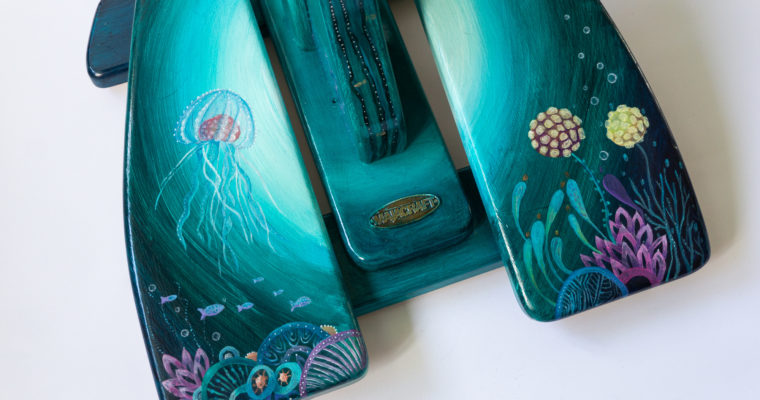
This is a beautiful colour, and one that we had lots of indication for last year as a potential colour for 2019 as well. This is going to look amazing with the existing bobbin colours of pink, blue, purple, and lime green, and if you were lucky enough to get a lilac bobbin as well your collection will be looking really beautiful.
I would also like to announce our five randomly drawn bobbin winners too! If you see your name in the list please contact us by email with your postal address at support@majacraft.co.nz . We are currently on summer vacation but we will get back to you as soon as possible.
The bobbin winners are:
Penny Duke
Lynx Mullen
Jane Stevens
Margaret May
Debi Orndorff
Congratulations and thank you all so much for your participation! As soon as the bobbins are made and ready to order we will post here and on Facebook to let you know. We will you all a fantastic year 🙂