Majacraft Tutorial: Making Tweedie Yarn
Hi Everyone! This week I wanted to share a project with you that I have been having fun with recently! If you have been following our Facebook page you will have seen that I am currently playing with the new 128tpi cloth drum on my Fusion Engine Carder (its so great with my fine fibres!). If you are also feeling inclined to do a bit of carding and spin along with me, I have created a mini tutorial for you right here! We are going to make a Textured Tweed style yarn, and I think you will enjoy how easy and fun this is to make.
The first step is to choose the right fibers. Remember, preparation is everything! Choose your main fibre, I selected a dark colour (Charcoal) because I wanted something contrasting in my final yarn, but you can make this any colour you like, it will be the primary colour of your yarn.
For the main fibre, select one with a medium to long staple length such as Corriedale, BFL, or even Merino is just fine for this, the important part is that the main fibre is much longer in staple length than your ‘texture’ fibre. Mine is a NZHalfbred blend with a staple length of about 7-8cm.
For your textured fibre, select one that is very very short, such as Yak, Cashmere, neppy Camel down, silk noil, or you could even save up and use the waste from your carding and combing! I used some beautiful soft but very neppy ultrafine Merino. You can see the difference in staple length in the photo, in fact the pale coloured fibre almost has no staples at all:
 You will need more of your base colour fibre than of the short texture fibre. Your fibre proportions are entirely up to you however, depending on the amount of tweedy texture you want in your fiber. You will see in your batt as you add the textured fibre if you are getting the effect and quantities you want. Because now is the time to card it together!
Carding and Blending
You will be blending this at least two times. For the first run through the carder start by puting a thin layer of your base colour on the drum first. Then you can start adding more fibre, I like to lay some of the short fibre on top of the longer and run them through the licker and onto the drum together, but you might like to add them in separately.

You will start to see the effect very quickly as you card and your short fibres start to feed onto the drum:

When you have filled the drum as much as you want to and have achieved approximately the proportion of texture to base colour that you like, you can go ahead and remove the batt, split it into four lengths, and recard these, spreading them across the width of the feedtray to enhance the blending. You will see on the second pass that your short fibers are spreading through the batt.

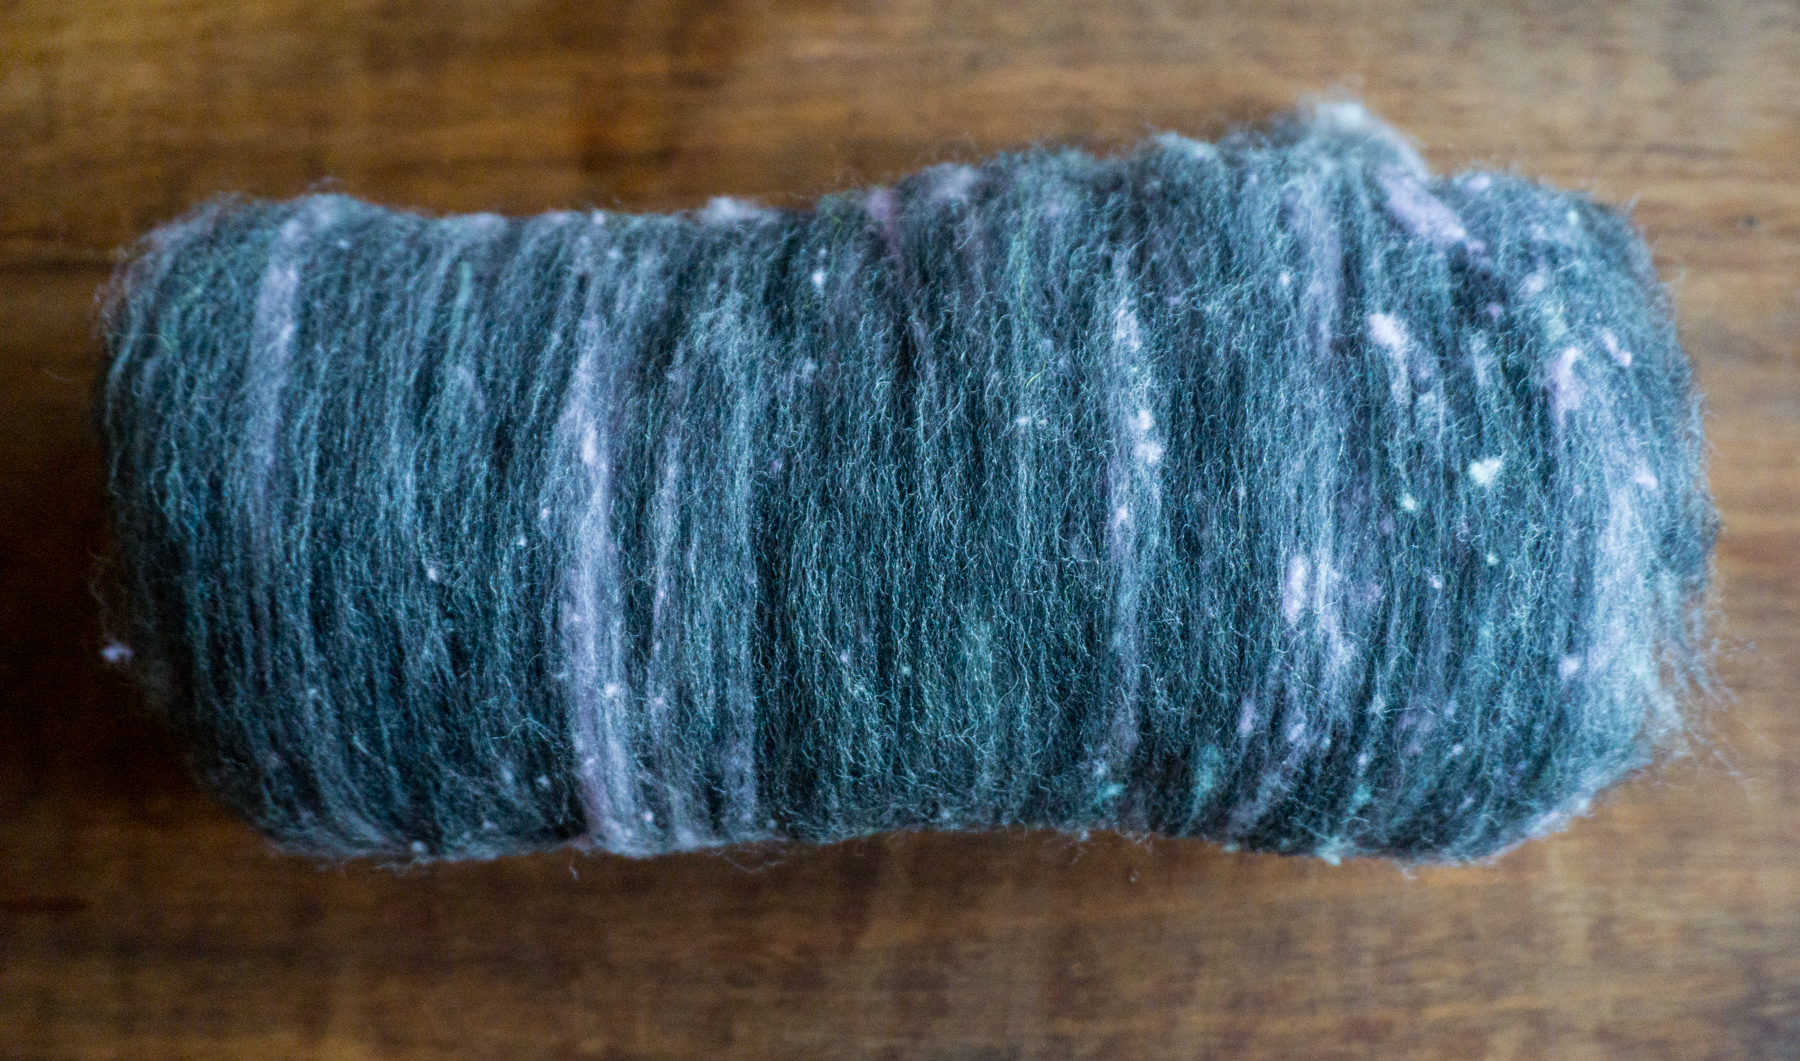
If you are using one of our Fusion Engine Drum carders, with the very efficient carding ratio of 8-1, you are likely to find that just two passes is enough to get the tweedy effect you want. If you overcard this your little clumps of fibre and noils will get broken down too much and you are likely to lose some of the texture and contrast, so stop at the point where you feel you have a good distruction of texture versus base fibre, on some carders this may take three or four passes to get the effect you want. I liked this effect in my finished batt so I stopped at two passes:

And now we can spin the yarn! The idea with a tweed style yarn is that it should be light and textured, you can certainly spin this longdraw if you like, or you might like to spin it as I do simply by splitting the batts into strips and spinning it with a light forward draw in which I do not smooth the yarn down as I spin.

You will see you little clumps of texture fibre coming through as you draft, caught into the longer base fibres. Try not to smooth these down as you spin them in, they will get trapped into the twist and when we ‘finish’ the yarn will be quite stable.
I spun my yarn on my Little Gem, and created it as a simple balanced two ply, splitting my batt in half and spinning onto two bobbins. Here is how it looked freshly plied and on the bobbin:

The next step is very important!
Finishing and setting the yarn. This is particularly important for this yarn, because it not only sets the twist but it also fulls the yarn slightly, and this in turn helps to trap those short fibers into the final yarn, reducing the chance of them simply pilling up and pulling out. In this step you need to skein up your yarn, tie it well in four places, then immerse it into some hot water with a little wool soap. Let it sit five minutes. At this point I will give the yarn a little agitation, rough it up in the water a bit! And then take it out of the hot water and put it directly into cold water, swirl it around a bit more. Repeat this step several times. You should be able to ‘feel’ the fibre change its character a little and not only bloom but also become more (and this is the only word I can come up with to describe this) combined as the fibres start to grab onto each other. Next press out the excess water. Once you have done that, and this is something I do not do to all my yarns but it works very well on this one, ‘thwack’ it against a hard surface. It feels mean and a little crazy, but its ok! It works to finish off that fulling process, it fluffs up your yarn somewhat, and remember this is a desirable character of tweed style yarns, and it further integrates your nepps and short fibers into the structure of the yarn.
This is how my finished yarn turned out: (to see them closer click the pic)


And here is another one I made using the same technique and the same texture yarn, only this time my base fibre was a soft grey NZ Arapawa.
 And just in case you are wondering, this is how they look when they are knitted up!


I really love this effect, it can be subtle and create a gentle texture and colour variation in your yarn, or you can do this with many different colour and texture combinations to get more extreme yarns with pops of mega-textures. I love how easy it was to prepare the fibre for this yarn and the simple spinning that I enjoy when I want to just relax. For some other variations you could try plying this as a four ply cable yarn, or add an auto-wrap, or even coil your single instead of ply it! There are many possibilities for using this particular fibre prep, and I hope you enjoy experimenting with this yarn too!
Till next time, happy spinning!
Suzy (WoolWench)
Fantastic tutorial! As always you are making me wish I could have this carder right now. Some day 🙂
Thanks for this great tutorial Suzy. My guess is that any merino for felting would work well. I’m going to try it out tonight.
What fun! I haven’t played with my carder in awhile. great points about the staple lengths, and now I know what to do with all that silk noil I got at an estate sale with no plan!
Thanks for the great post and photos..exactly the info I was searching for!