Tutorial: Make your bobbins uniquely yours!
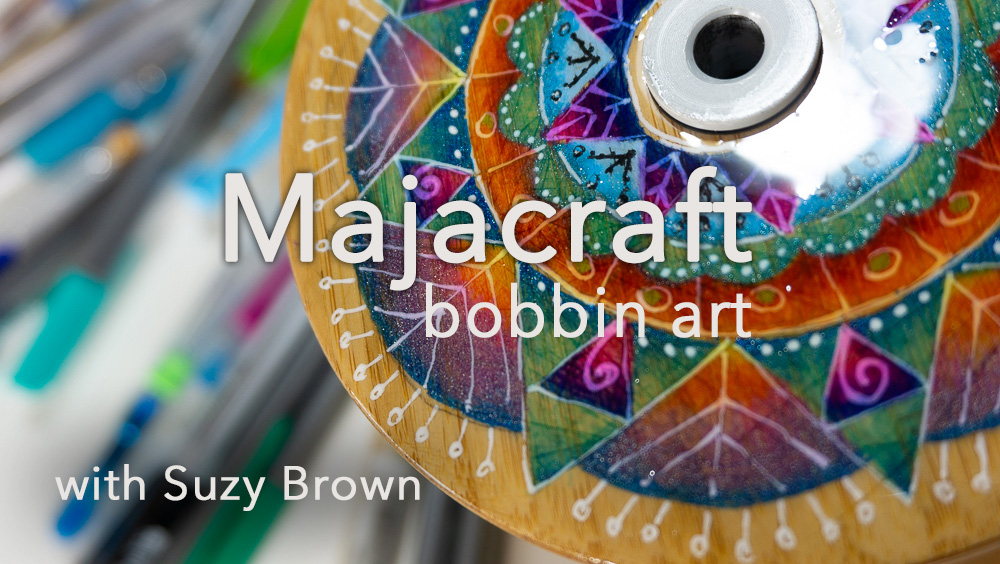
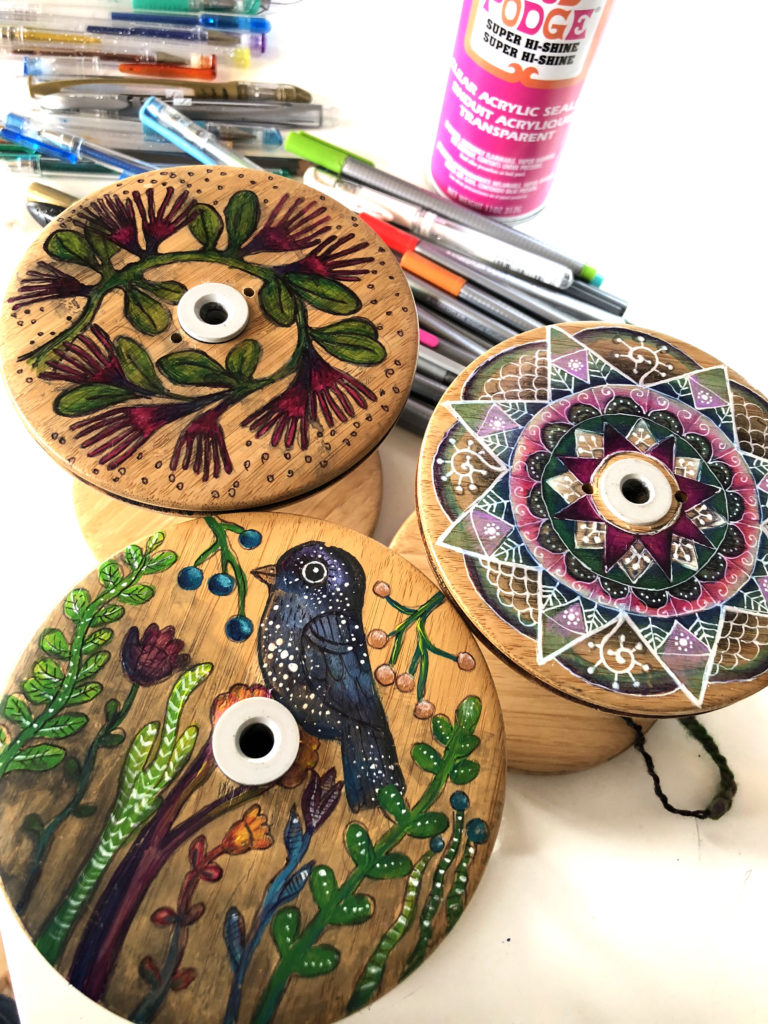
If you are a spinner who enjoys making anything you do ‘yours’, then I think you will enjoy this idea! Our wonderful wooden bobbins are just right for adding your own personal touch and turning them into something uniquely yours. I have played with this over the last months and created a few different designs for my own bobbins, I certainly always know which ones are mine when sharing them at workshops! I have found that the Mandala kind of design really lends itself well to the circular shape of a bobbin, and it can look great when spinning. I have also created some less symmetrical designs as well, just for fun.
What follows is a tutorial I have written to help you get started with your own bobbin decoration, mostly just an overview of equipment and techniques that I use and know work well, however there are so many ways you could do this, please consider this tutorial as just a starting place for your own art. I have also included a video to accompany this, the first part taken from a Livestream I did on our Majacraft Facebook page (click THIS LINK to visit there and you will also hear my expanded commentary for the first half of the design work). The rest of the video was completed after the livestream and shows more closeups on how I blend colours on the design.
If you have never worked on a wooden surface before you may want to find some wood to practice on first, as the best option, find a bamboo chopping board or similar and sand that back to give you the same kind of surface as the bobbins. Bamboo is smooth and not very porous and makes a lovely surface to decorate, but it does behave a little differently than paper does for creating your art on.
Materials:
- A small piece of fine grade sandpaper (160-180)
- Fine maker pens such as Staedler triplus markers in a range of colours
- Gel pens of any variety – sparkle gel pens are fun to use too
- A white gel pen with free flowing ink (it should draw easily)
- A fine black marker pen
- Spray Varnish – I use Mod Podge Hi Shine – but you can use any kind, matt to super gloss, depending on your tasteIf you want to try this design you can download my pre-drawn template. Print it to about 65% scaling (not ‘fit to page’) with your printer software options. DOWNLOAD THE TEMPLATE
Step One:
Give the surface of your bobbins a light sanding to remove the varnish and create a more porous surface. If you do not take enough of the finish off your pens (or paints) will not stick to it or dry well. You will see when it is ready as the surface will look smooth but not shiny, and it will be slightly lighter in colour. Make sure you work evenly across the bobbin.
Step Two:
Cut out your design, including the circle in the middle. Transfer your design onto the wood. In the video you can see how I do this using a very traditional method! Completely colour the back of your design with a soft leaded pencil, leaving a layer of lead on the paper. Make sure it is nice and thickly covered with no gaps.
Turn the paper template over and lay it down on top of the bobbin with the drawing facing upwards. It helps now if you stick your design down in a couple of places with a little tape onto the bobbin, just to prevent any movement as you transfer the drawing.
Take a pen with a hard tip and trace over the lines of your drawing, press hard enough that the pencil on the back is transferred onto your bobbin (you can lift the paper a little to check) but not so hard that you leave dents in the wood. Once you have worked your way all around the paper image your design outlines will be transferred onto the bobbin and you can remove the paper.
The template I have provided you with has only the main outlines on it, which is all you need for your colouring. When it comes to adding details and the white lines you can either make those similar to the ones on my bobbin example, or make up your own! Think of it as just ‘doodling’, its fun!
Step Three
Now it is time to add your colour! This step really is literally colouring in! You could simply colour in each shape as a solid colour, choose the colours you love and work your way around the design. Or you could do what I do and blend colours together inside each shape.
I love to make graduated tones and layer colours to blend together. The video shows you how I do this. I usually start with the lightest colour first and lay that on in a larger area than I want it to end up in, because some of it will change colour. Then swap to your next colour and lay that on next to the first colour, and then overlap it slightly. Go back to your first colour pen and use that to mix the two colours together where they meet, I use very small circular motions to do this. Sometimes you need to swap back and forth a little between colours to get the mix right, just keep working into the area, dragging one colour into the other, until you are happy with the result.
Step Four:
Add your white gel pen details. I usually use this to put an outline around all the shapes, and then add details inside the shapes such as dots, lines, swirls, spirals, your imagination can take you anywhere with this!
Step Five
When everything is dry you can finish your bobbin with a coat of varnish. I have used Mod Podge Hi Shine that gives a glass-like finish to the finished art. I love how it really lifts with the shine over it but you prefer you could instead use a matt or a semi gloss, it is entirely up to you! I use a piece of tape to cover the plastic centre of the bobbin and prevent any varnish from getting inside it.
And thats it!
I hope you have enjoyed this tutorial and that it has given you some ideas for your own bobbins! You can use these techniques on any kind of wooden tool or piece of equipment, the bobbins lend themselves to it very well of course but there is no reason to stop there if you wanted to really customise your tools yourself. I am also considering a themed set, ‘dragon bobbins’ are coming soon! I just need to stock up, but luckily as well all know, there is no such thing as ‘too many bobbins’ 😀 If you find you need more then of course any of our dealers will be happy to help you, follow THIS LINK to find one closest to you!
Now please enjoy the video, it shows each stage of the process and also some speed drawing to see the design grow 🙂
Loved seeing the simplicity with which you created this lovely folk art bobbin. The materials I expected to be so complex were so easy to work with and find locally! Beautiful artwork as always Suzy! Thanks so much for sharing!
I am so glad you enjoyed it Nancy, and I deliberately used materials that are easy to find so that others could also give it a go! Please do share pics on our Facebook page if you do some bobbin decor too 🙂
Thank you Suzy!